Retrofit ft. Dio API calls using JSON class converters for Flutter
A flutter example of Android Native Retrofit API calls
A flutter example of Android Native Retrofit API calls
In this article, we will discuss Retrofit and Dio API calls and the usage of custom interceptors in a singleton class
Table of content
- What are APIs?
- What’s Retrofit
- What are flutter data classes?
- Full use case of Retrofit
Important tools
- Flutter SDK 3.3.0
- Visual Code or Android Studio
- A little bit of patience and knowledge :)
What are APIs?
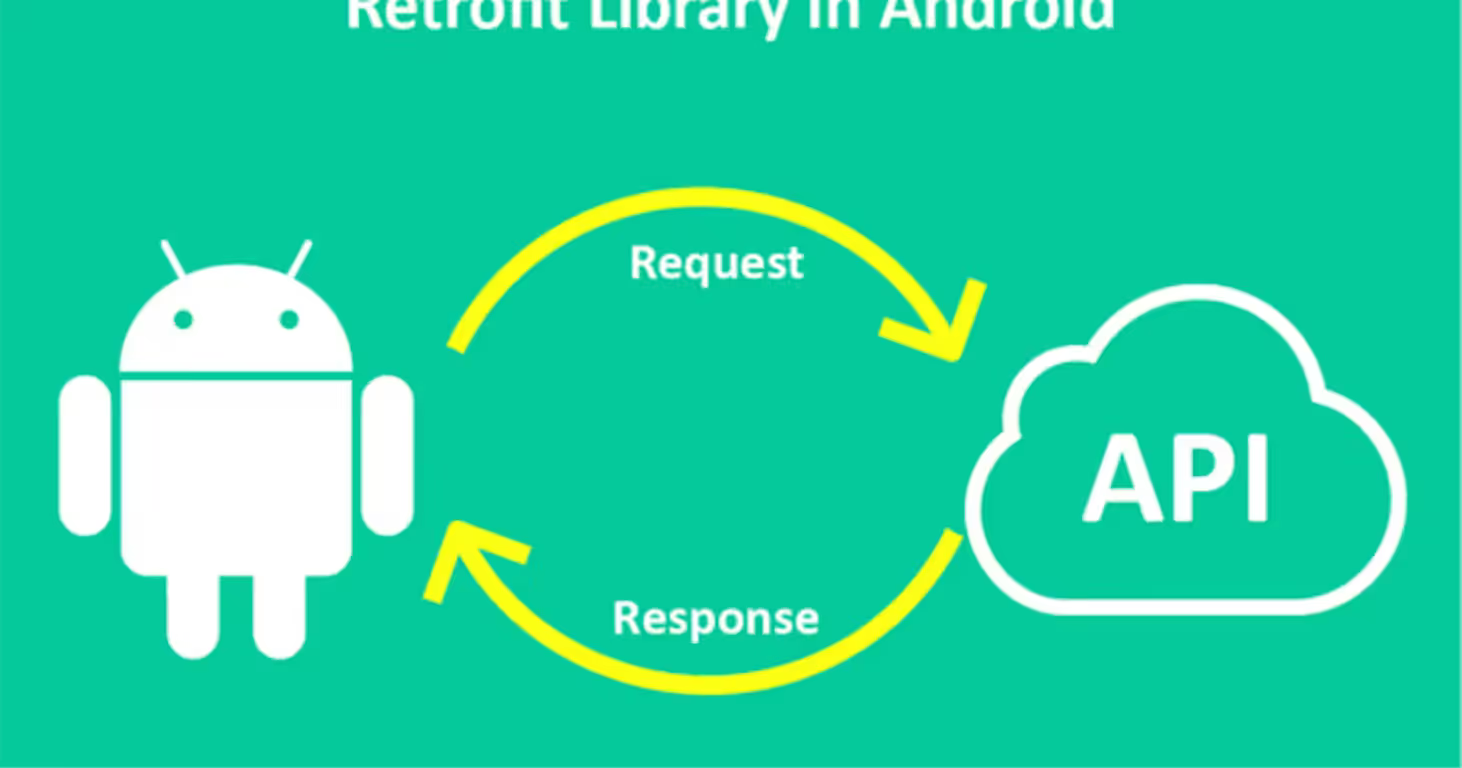
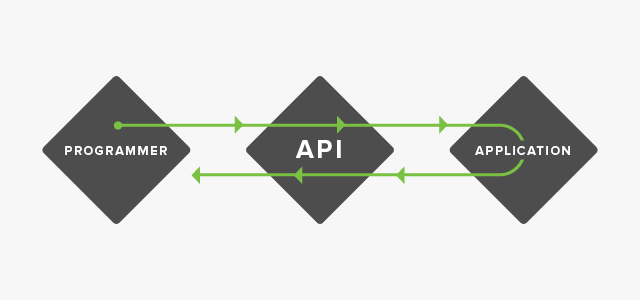
API stands for Application Programming Interface. In the context of APIs, the word Application refers to any software with a distinct function. An interface can be thought of as a contract of service between two applications. This contract defines how the two communicate using requests and responses.
What is Retrofit?
Retrofit is a library that your API into JAVA, Kotlin, and in our case Dart Interfaces
This tool uses code generation for all platforms in our case we will need to import it alongside Retrofit generator and build runner
You can use this as the actual date of this article.
dependencies:
retrofit:dev_dependencies:What are flutter data classes?
A data class refers to a class that contains only fields, values, and CRUD methods for accessing them (getters and setters)
In Dart data classes can be presented such as the example below:
class OrderItem {
  final num id;
  final List<num> pid;

  OrderItem(
    this.id,
    this.pid,
  );

  OrderItem copyWith({
    num? id,
    List<num>? pid,
  }) {
    return OrderItem(
      id ?? this.id,
      pid ?? this.pid,
    );
  }

  Map<String, dynamic> toMap() {
    return <String, dynamic>{
      'id': id,
      'pid': pid,
    };
  }

  factory OrderItem.fromMap(Map<String, dynamic> map) {
    return OrderItem(
      map['id'] as num,
      List<num>.from(
        (map['pid'] as List<num>),
      ),
    );
  }

  String toJson() => json.encode(toMap());

  factory OrderItem.fromJson(String source) =>
      OrderItem.fromMap(json.decode(source) as Map<String,dynamic>);

  @override
  String toString() => 'OrderItem(id: $id, pid: $pid)';

  @override
  bool operator ==(covariant OrderItem other) {
    if (identical(this, other)) return true;

    return other.id == id && listEquals(other.pid, pid);
  }

  @override
  int get hashCode => id.hashCode ^ pid.hashCode;
}
Note: this is just an example that we won’t be using during this article
Full use case of Retrofit
First of all, we will need our test API or something that will help us simulate what we call a Request and Response, and for that, we will be using the https://jsonplaceholder.typicode.com/
This website will help us test our use case without the need to build or mock data as it accepts multiple Request Methods such as POST, GET, and PUT
If you visit the link https://jsonplaceholder.typicode.com/posts you’ll see what an API response looks like.
Now let’s start by creating our data class for POSTS to facilitate that I’ll be using https://www.dripcoding.com/json-to-dart/. Basically, it’s just pasting a JSON response from one side and copying the data class from the other
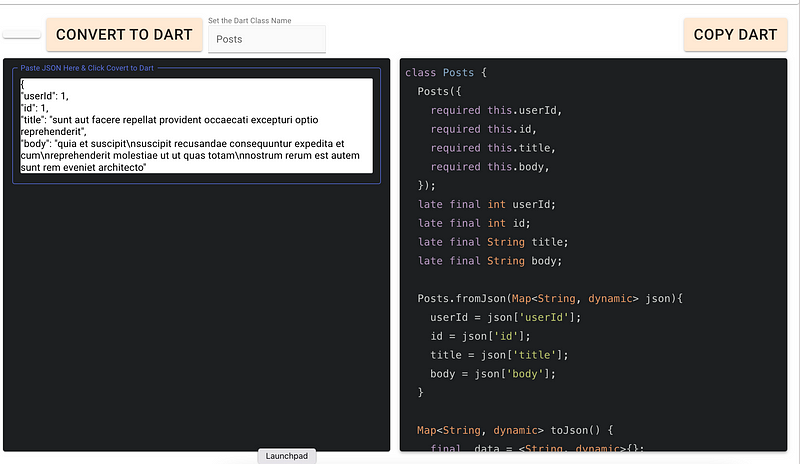
Create a Dart class name it as you like and past the right part of your screen inside of it use “COPY DART”.
Now let’s start by creating too different .dart files
- endpoints.dart:
This one will hold all of our endpoints for example posts/, users/, comments/ … and so on
So far our case will be based on posts/ end point
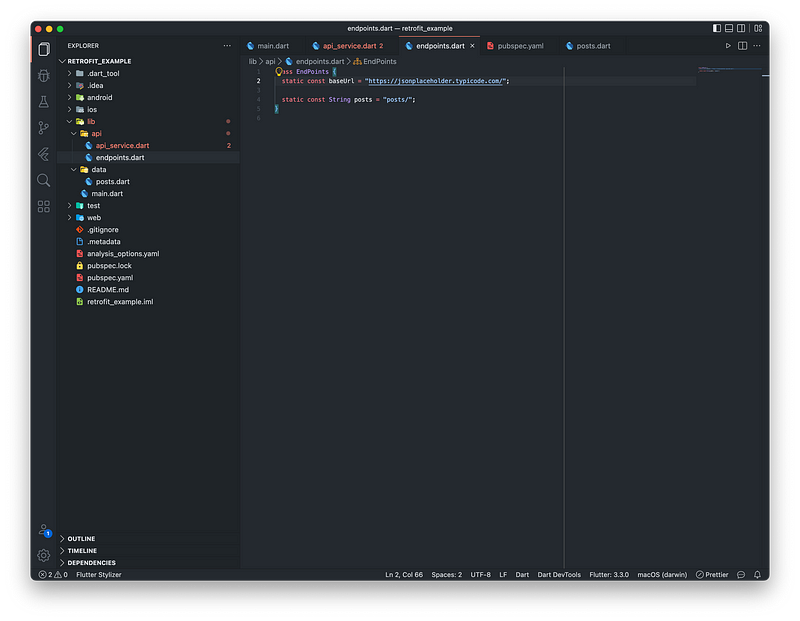
Create another file called in my case api_service.dart, this one will hold all the logic of our API calls as you can see in the screenshot below.
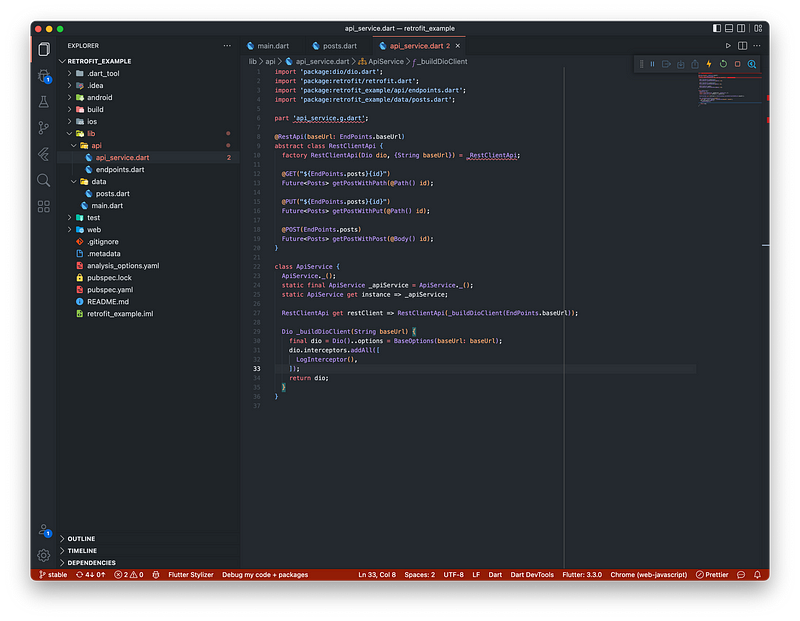
The most important part of this screen is the RestClientApi abstract class it contains all the API calls GET, PUT, and POST and each one of them has a different type of annotation and passed parameter. So far our code has multiple errors but that’s okay it will be fixed by going to your IDE terminal and typing the following command:
Note: add the line part “api_service.g.dart” even if does not exist
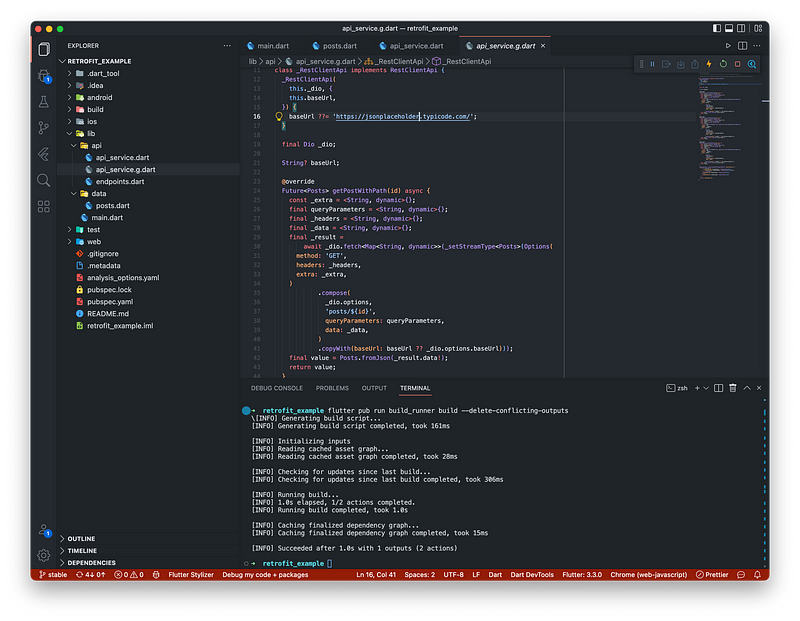
flutter pub run build_runner build — delete-conflicting-outputs
Wait for some time... and voila, a file named api_service.g.dart will be automatically generated containing the elements below but please don’t add or delete anything if you submit any modification rerun the later command.
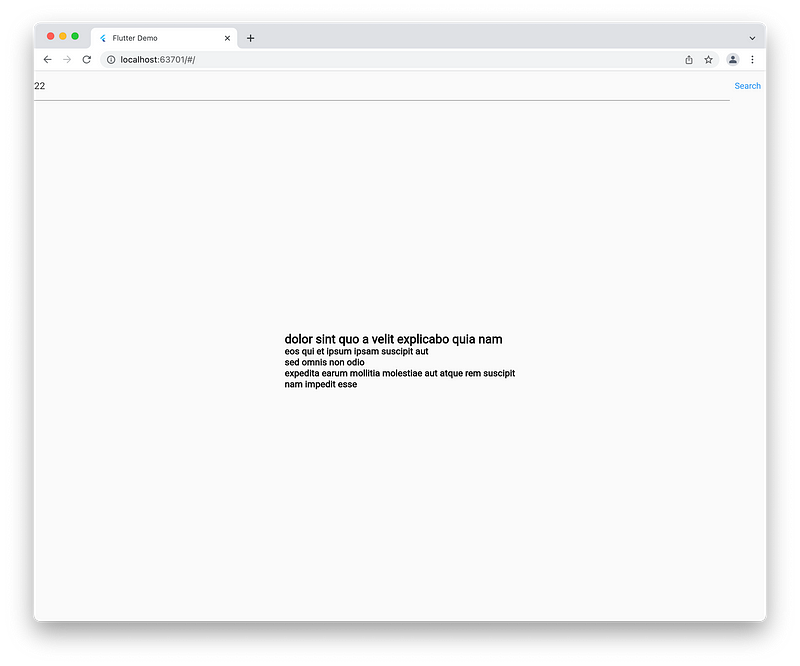
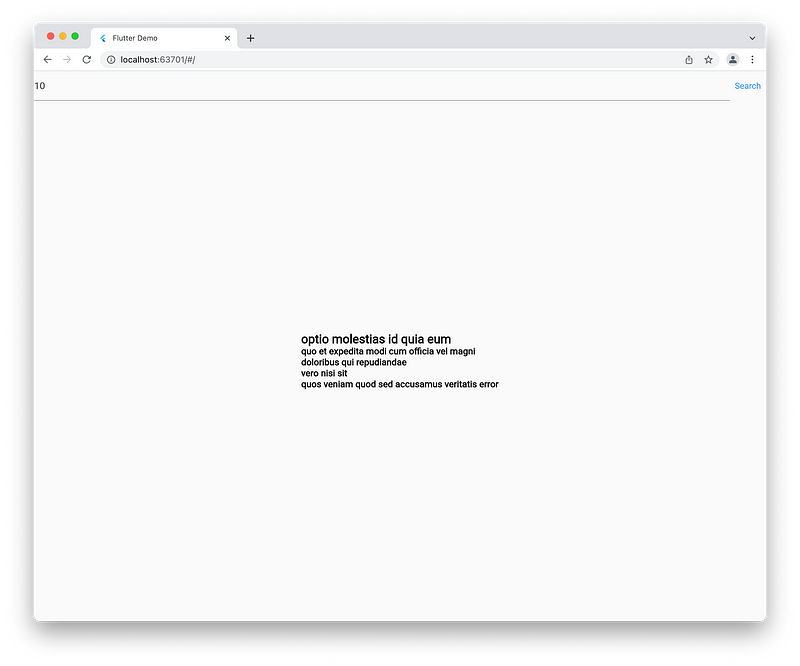
Now ladies and gentlemen let us try our API calls and see the results
Note: I’ll be creating a basic UI that you can use from the repo at the end of this article
You can find the whole example on my GitHub link below
This will be the end of our little example and I hope it wasn’t too much to handle, this is basic stuff that will help with bigger projects, and to assure you this is what I use for my day-by-day, 9-to-5 job as a Mobile Software Engineer
Enjoy the reading, see you soon, and if you have any suggestions for other subjects JAVA, Kotlin, or dart, use the comment section to let me know.
GitHub Repo: https://github.com/oussamaniba/retrofit_medium_example
Oussama Aniba Newsletter
Join the newsletter to receive the latest updates in your inbox.